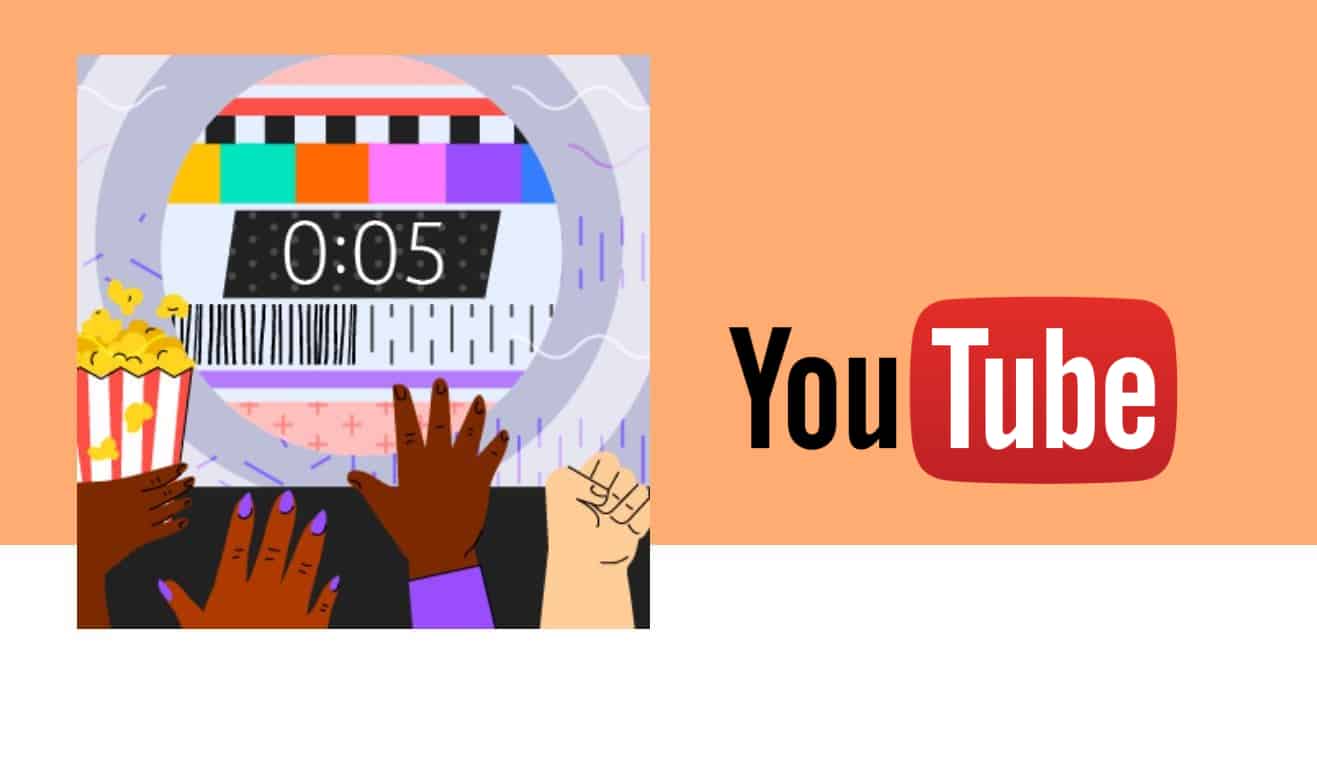
How to set up YouTube and Facebook Premieres
Landing a premiere on an esteemed music blog is a good way of promoting a single. However, paying for a professional publicist is expensive, and it doesn’t even guarantee any one of the highly-coveted spots.
A more economical way of doing it is to opt for a DIY premiere via YouTube and Facebook. But what are the main benefits of using YouTube or Facebook to premiere a single? And how can you set it up?
What are the main benefits of doing a YouTube or Facebook Premiere?
Premiering your music video on YouTube and Facebook is a way of promoting your video organically.
The premiere feature enables you to reap the benefits of going live without necessarily having to be present. By simply pre-recording and scheduling the premiere, you can generate some buzz without having to shell out a tonne of money for PR.
Fans and subscribers get a notification before the premiere airs. This handy tool reminds fans to stop whatever they’re doing and tune in. In case you need a bit more suspense to hype up your release, there’s also a countdown clock before the video goes live.
YouTube and Facebook empower you to gauge your fans’ response since your fans can comment and show their support for the new release in real-time. You can connect with your fans by joining in and replying to their questions and comments.
Setting up a YouTube premiere
- Start by uploading a video.
- Select “Scheduled” from the drop-down menu.
- Click on the video that you want to upload.
- While it’s uploading, go to the “Premiere” tab. Pick a date and time for your Premiere.
- Fill in your title and description, and choose a thumbnail that best represents your video.
- Once it finishes processing, tap on “Premiere”.
- A shareable watch page is automatically created. Paste the link into Amplify.link to create a sleek landing page for your premiere.
Setting up a Facebook premiere
- Go to “Creator Studio.”
- Click on “Upload Video” and select the video that you want to premiere.
- Fill in the title, description and tag sections.
- Click on “Publishing Options” and select “Premiere”. Set a date and time for your premiere.
- Add an image for your announcement post.
- You can also choose to raise money through the Premiere, add your video to a Playlist, add it to a Series, make the Premiere available to other pages and set Moderation controls.
- Select “Publish”.
Making the most of your premiere
Scheduling your premiere well ahead of the premiere date enables you to promote it across all of your social media channels.
Opting for your very own Amplify.link landing page is a great way of effectively promoting both your Facebook Premiere and Youtube Premiere. You can also amp up your marketing efforts by customising your landing page, starting the countdown through your Amplify.link and collecting real-time data about the people who are watching your premiere.
SamLOUDD
Sam is the CEO and Co-Founder of Amplify.link and LOUDD. He hosts the AmplifyYou podcast, the official podcast of Amplify.link Writing here about anything from culture, the music business, to the creator economy and beyond.

How To Successfully Promote A Music Event In 2023
This article explores the top 5 ways to promote a music event in 2023, including smart links, email

Searching For Music On Google? Here’s How To Make Your Music Rank First
Looking to market your music online? Learn all the tips and tricks to ranking higher on Google when
Has The Instagram Engagement Of Your Artist Profile Dropped? You’re Not The Only One
Struggling with a drop in engagement on Instagram? You're not alone. Learn about the reasons behind