
How To Claim Your Free AmplifyLive Showcase Ticket
Would you like to claim your free AmplifyLive showcase ticket, but don’t know how to do it? Fear not! Here is a step-by-step guide to claiming your free ticket!
If this is your first web3 experience, here is a step-by-step guide to setting up your wallet, buying crypto and claiming your free ticket. If you’re an experienced web3 user, simply skip to step 4.

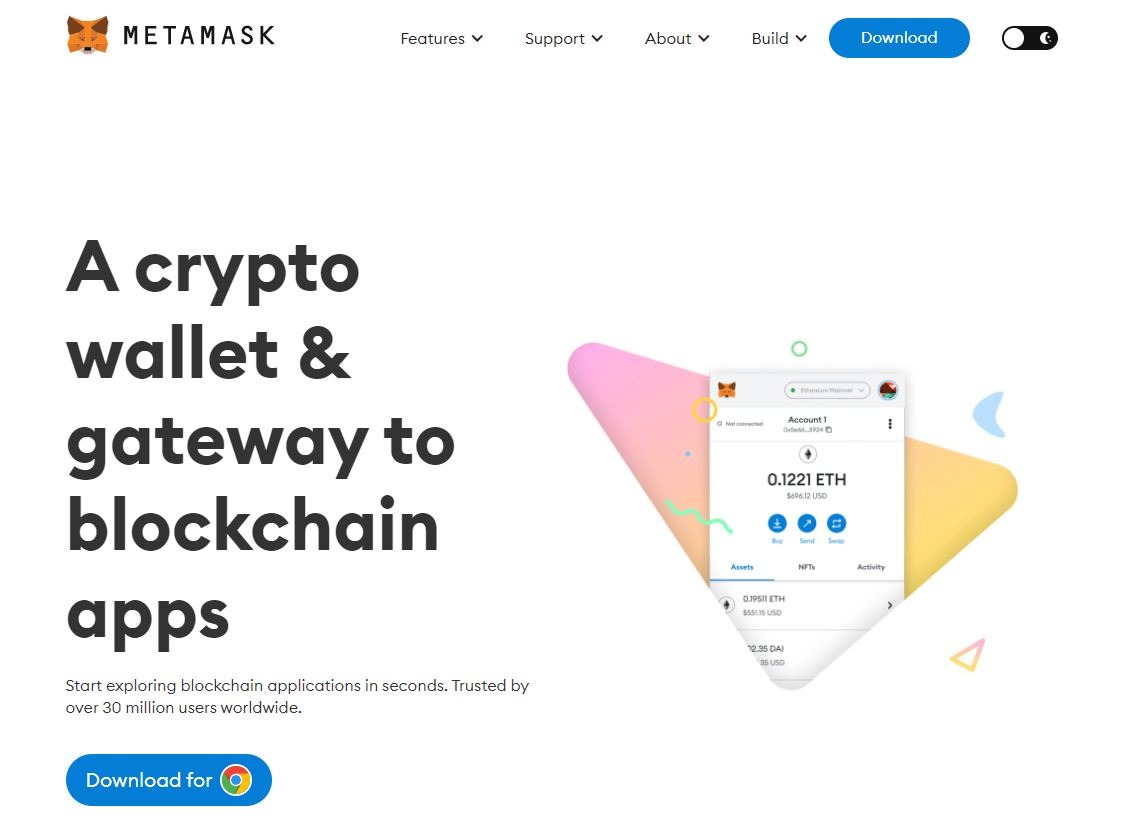
1. Download MetaMask
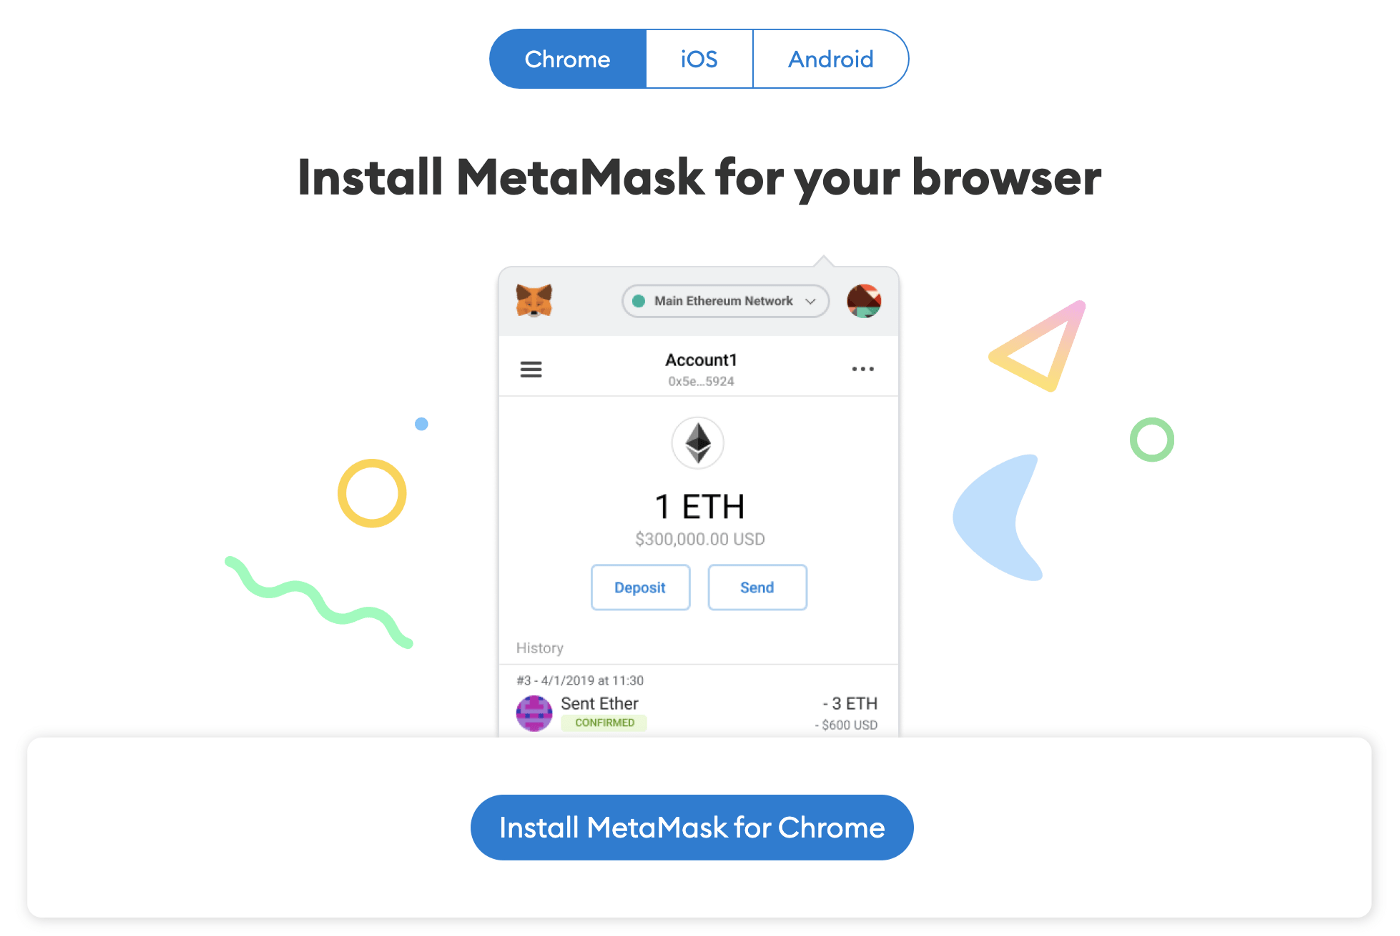
Go to the official MetaMask website and click on “Download.” Choose your preferred browser, and click on “Install the MetaMask extension.”
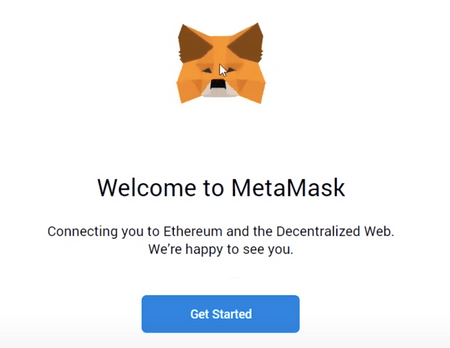
2. Create your wallet
Once the extension is installed, click on the MetaMask extension on your browser. Then, click on “Get Started”.
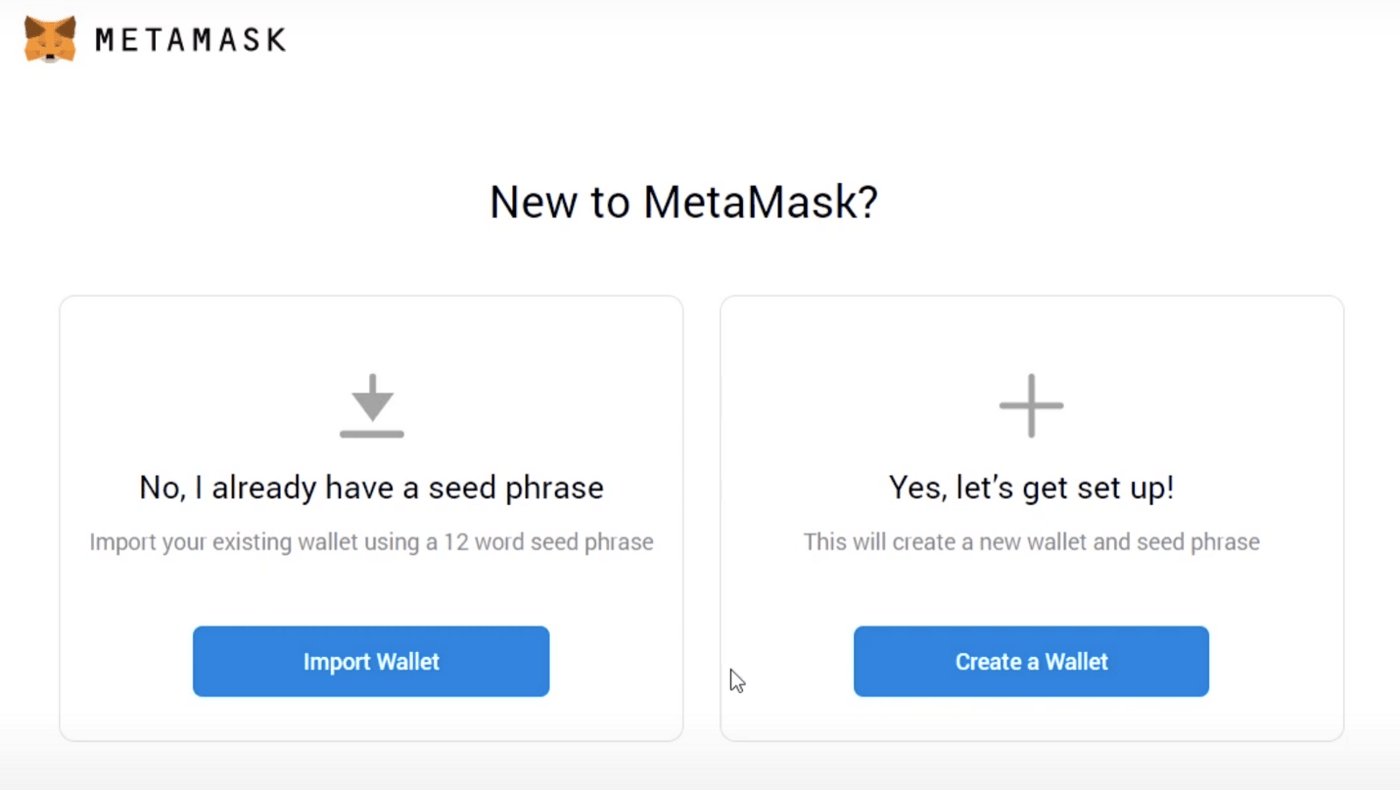
If you don’t have a wallet, click on “Create a Wallet.”
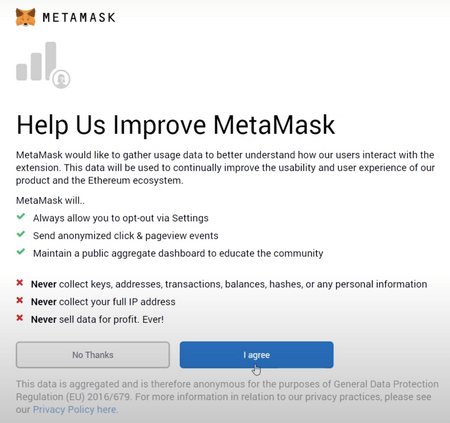
On the next window, choose between “I agree” and “No thanks.”
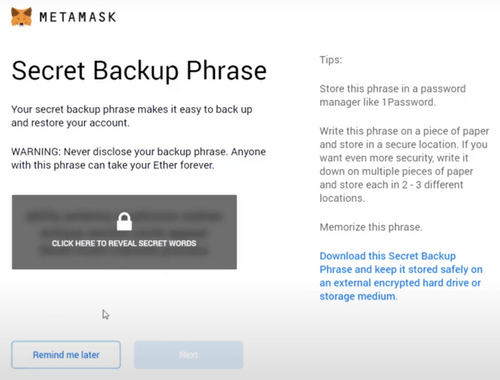
Create a strong password for your wallet. After creating your password, you’ll be shown a seed phrase. This is a set of random words which acts as your wallet’s master key.
It’s important that you store your seed phrase in a safe place. In addition to writing it down on a piece of paper or a secure diary, add it to a secure hard drive or use an online password manager. If you lose your seed phrase, MetaMask can’t help you recover it. As a result, your crypto and NFTs will be lost forever.
After clicking on “Next,” you’ll be asked to enter your seed phrase.
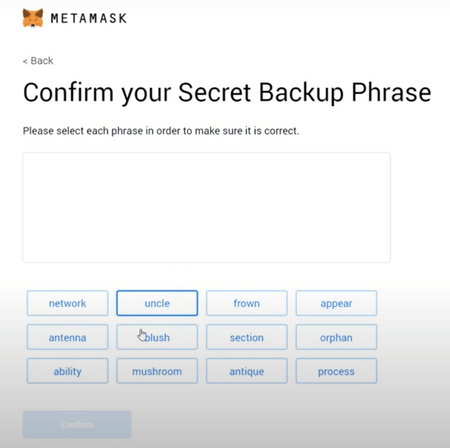
Click on “Confirm.”
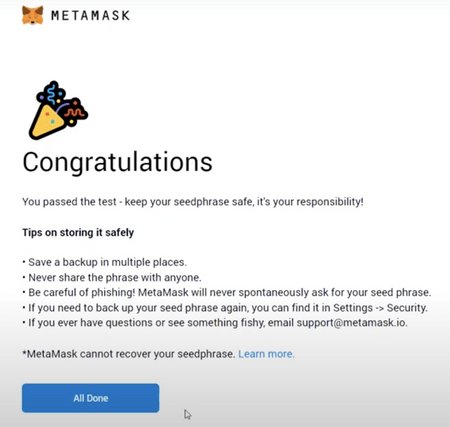
Your wallet has now been created. Click on “All Done” and click on your MetaMask extension (top-right-end of your browser) to access your account.
3. Add funds (MATIC) to your wallet
After clicking on your MetaMask extension, click on “Expand View.” This will open a new tab in your browser. Click on “Ethereum Mainnet” and scroll down to “Add Network.” Click on it.


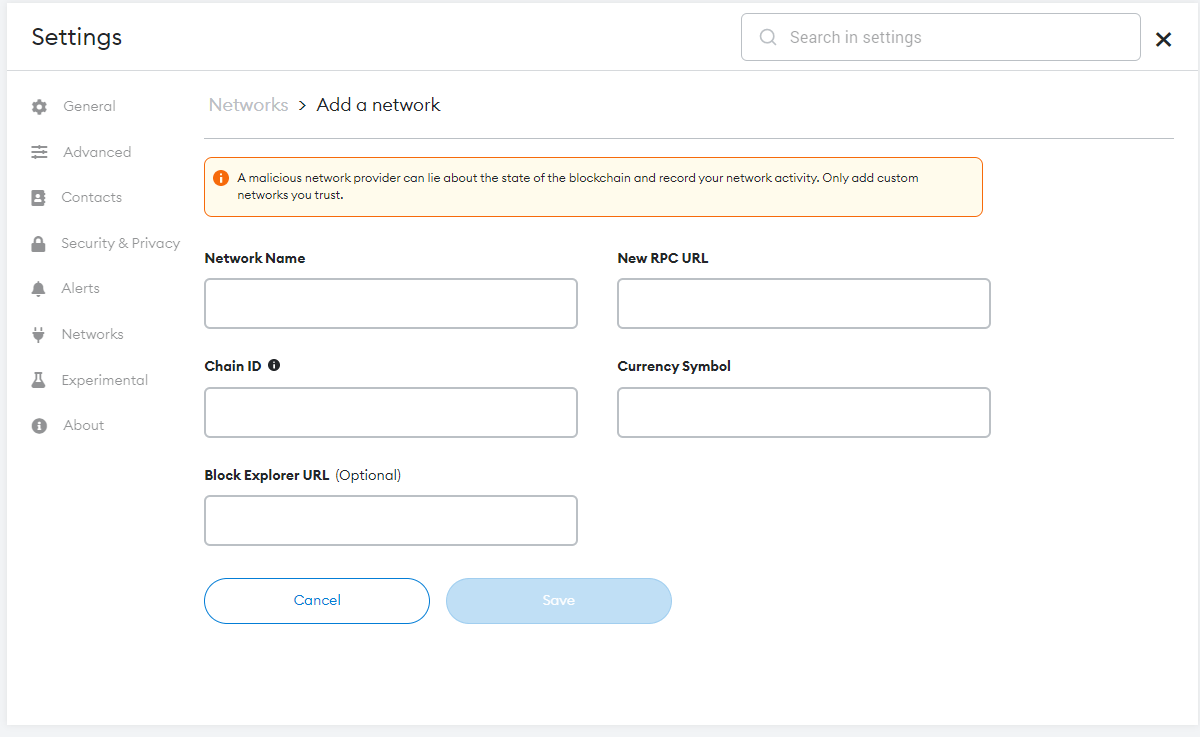
Enter the following details in “Settings.”
- Network name: Polygon Mainnet
- RPC URL: https://polygon-rpc.com
- Chain ID: 137
- Currency: MATIC
- Explorer: https://polygonscan.com/
Click “Save.”
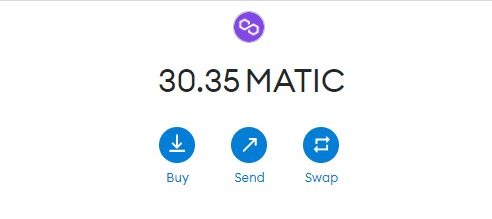
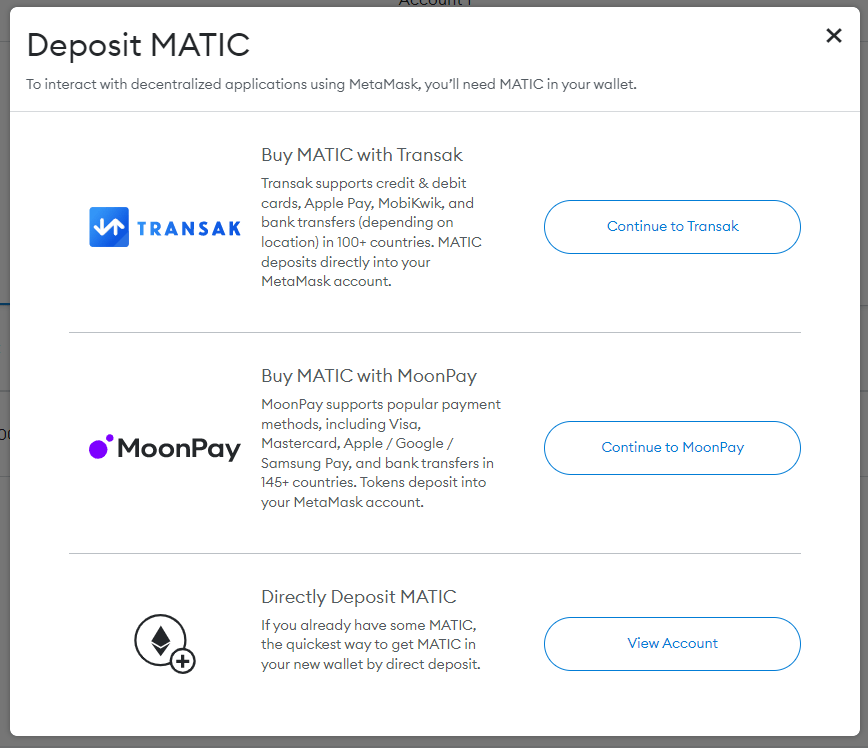
Switch to the “Polygon Mainnet” by clicking on “Ethereum Mainnet” and toggling between the two. After setting up the Polygon Mainnet, click on “Buy” and “Continue to Transak.”
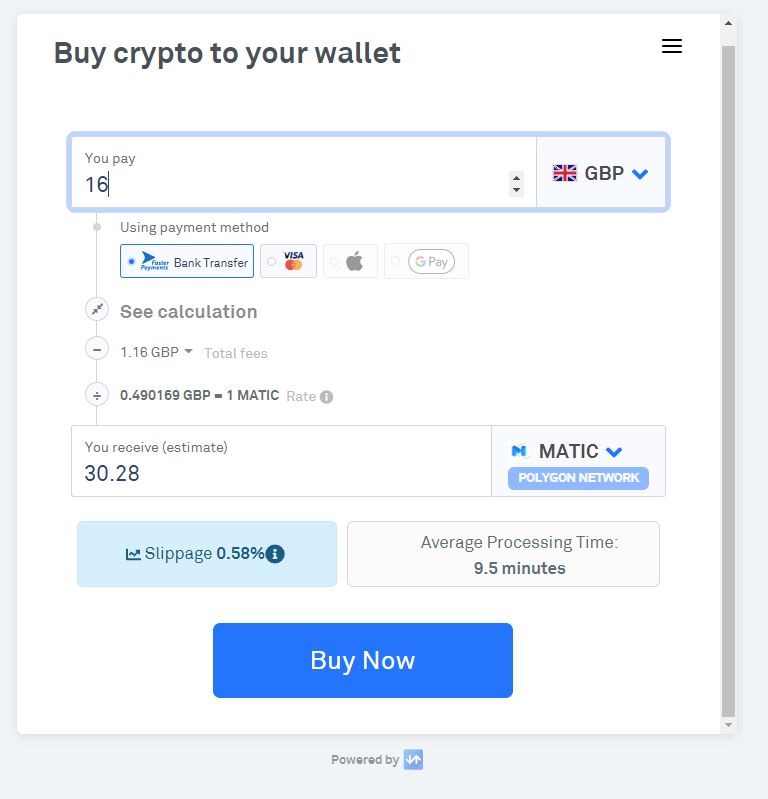
When Transak opens, the following should pop up. Enter the amount of money that you want to spend on crypto, choose between VISA and bank transfer, and then click on “Buy MATIC.”
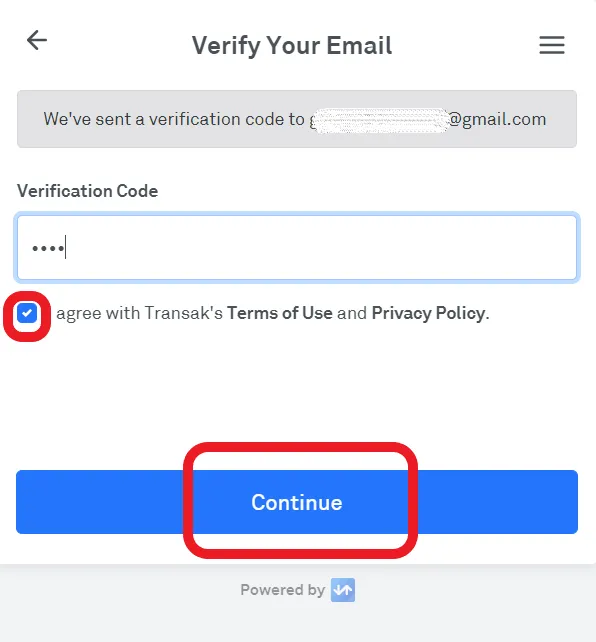
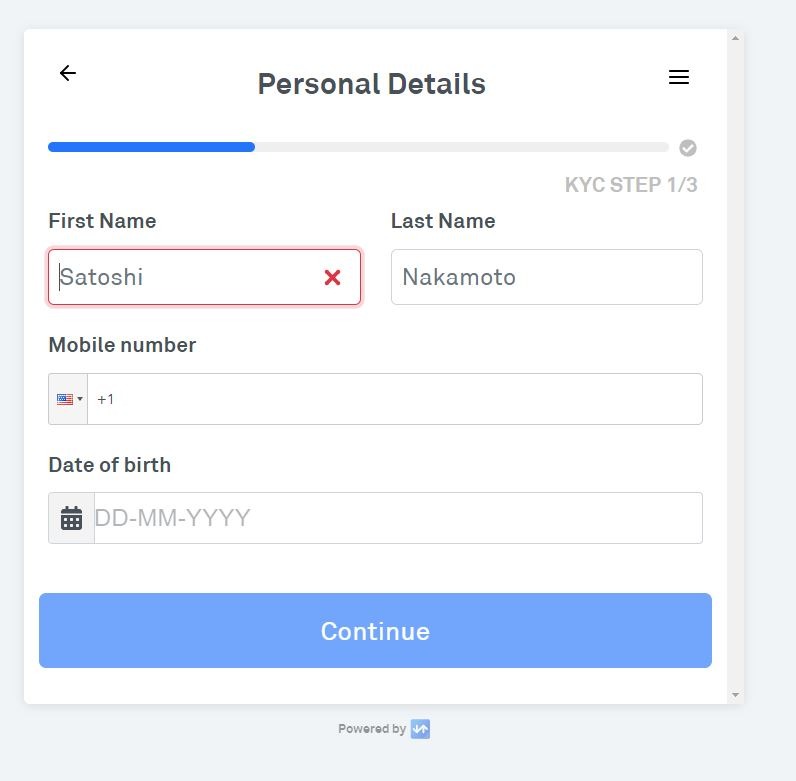
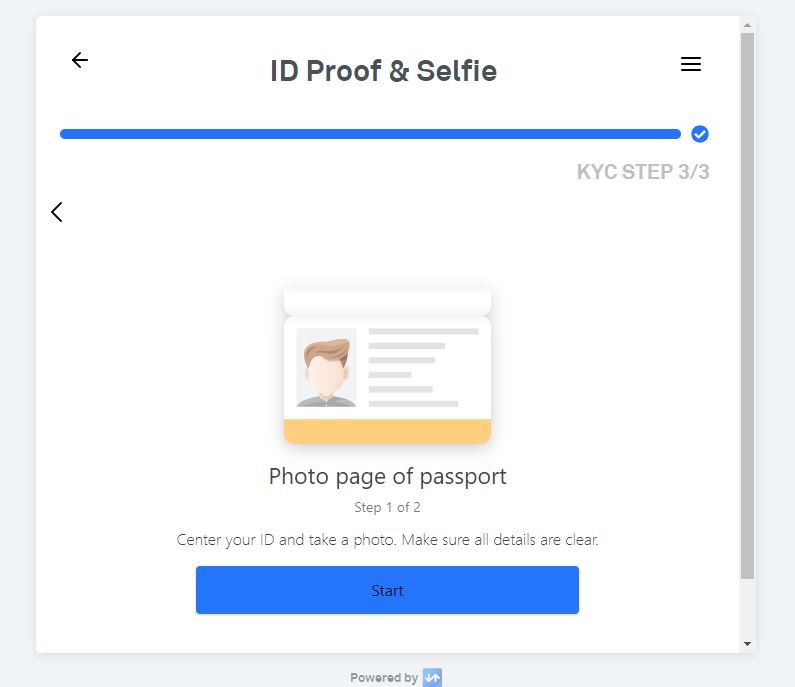
You’ll then be taken through a series of steps to confirm your identity. These include submitting a photo of your ID Card and a selfie.
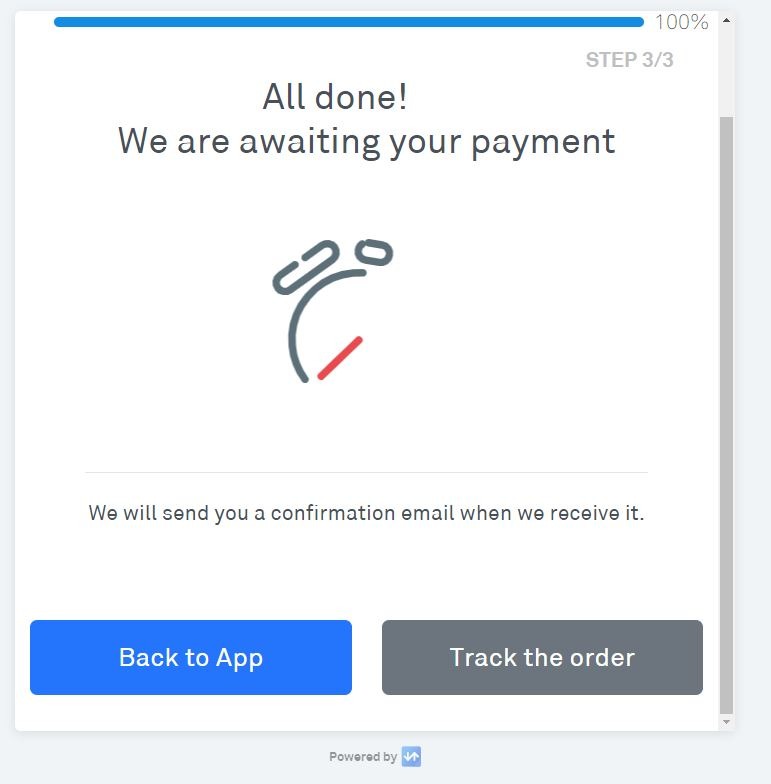
Follow the remaining payment prompts until you get to the payment getaway. Wait a few minutes and head back to your wallet.
4. Buy your AmplifyLive showcase ticket
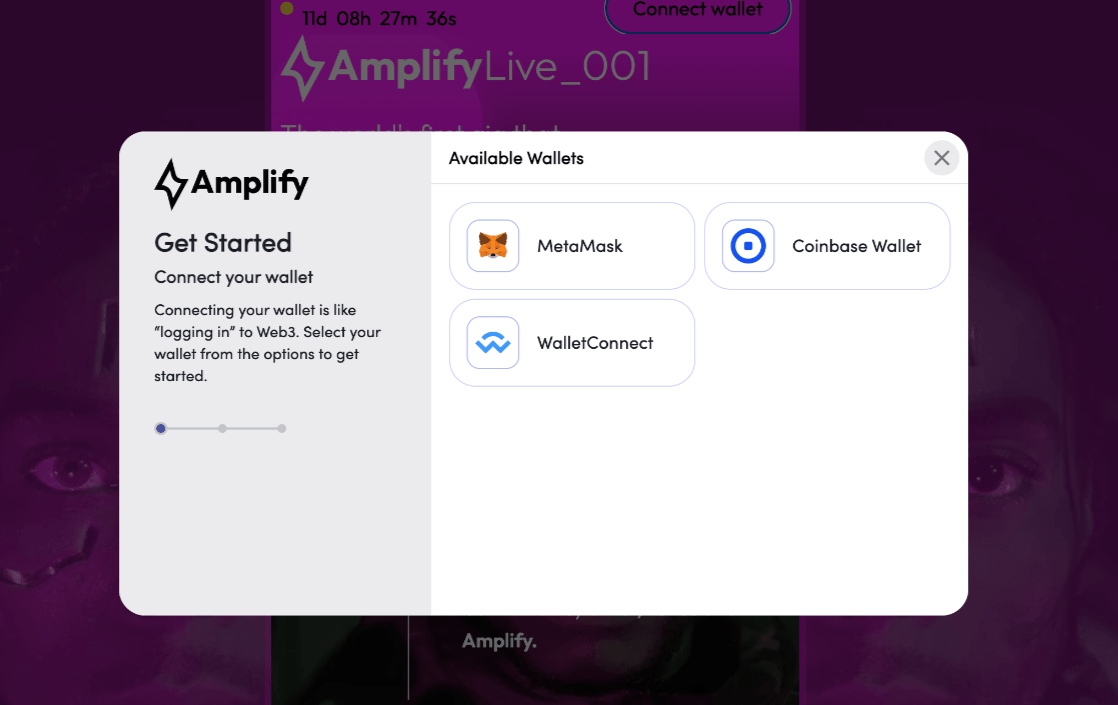
Visit https://amplify.link/amplifyliveshowcase001. Click on “Connect Wallet.” After doing so, choose your wallet. If your MetaMask extension is activated, it should connect automatically.

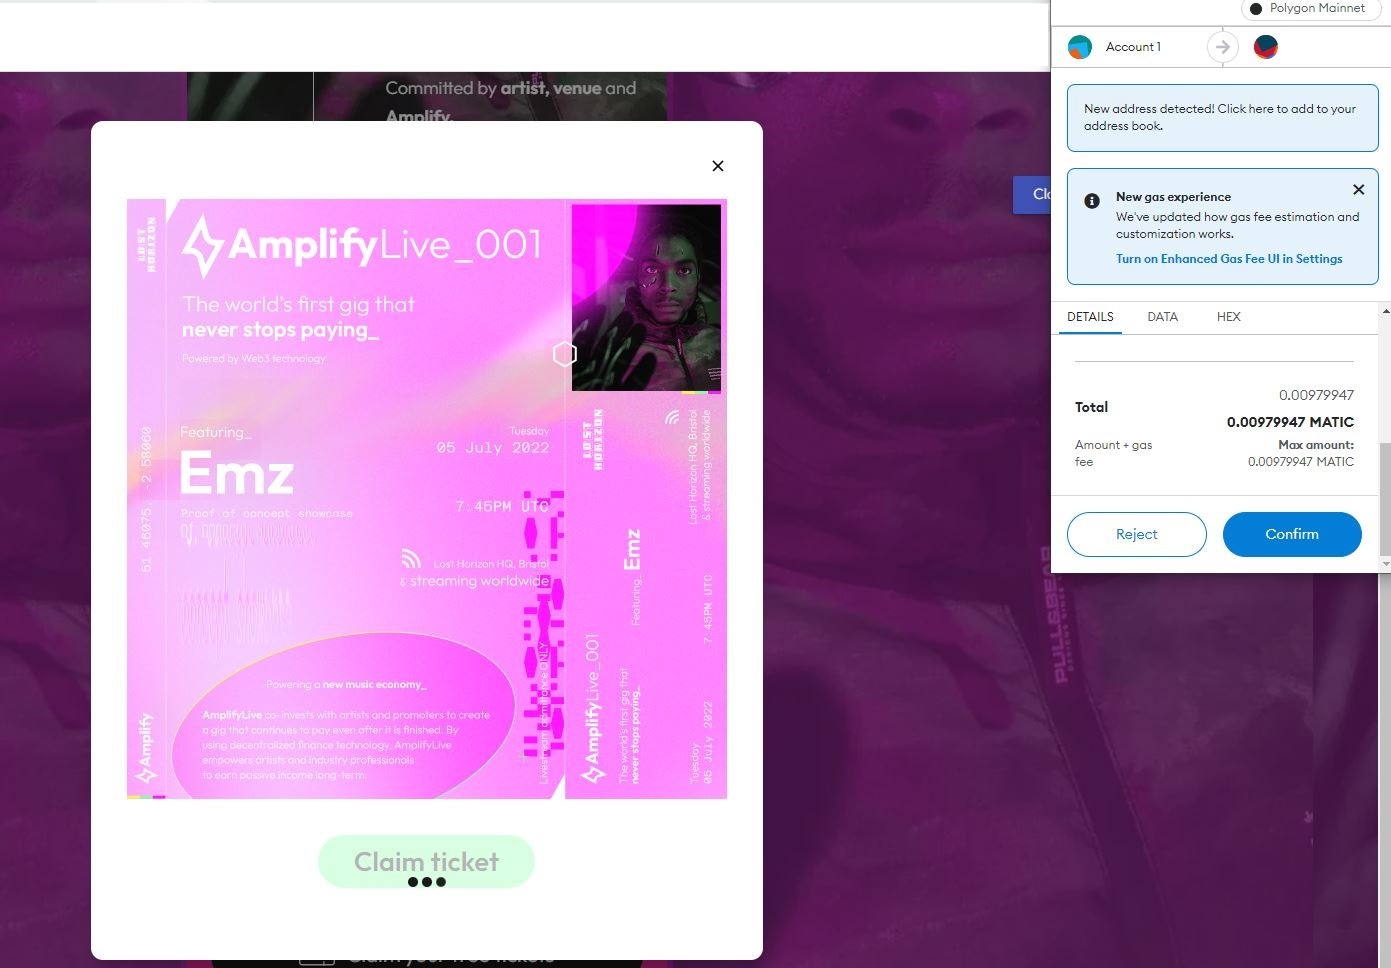
After your wallet is connected to the site, click on “Claim Your Free Tickets.”

After your MetaMask extension pops up, click on “Confirm.”
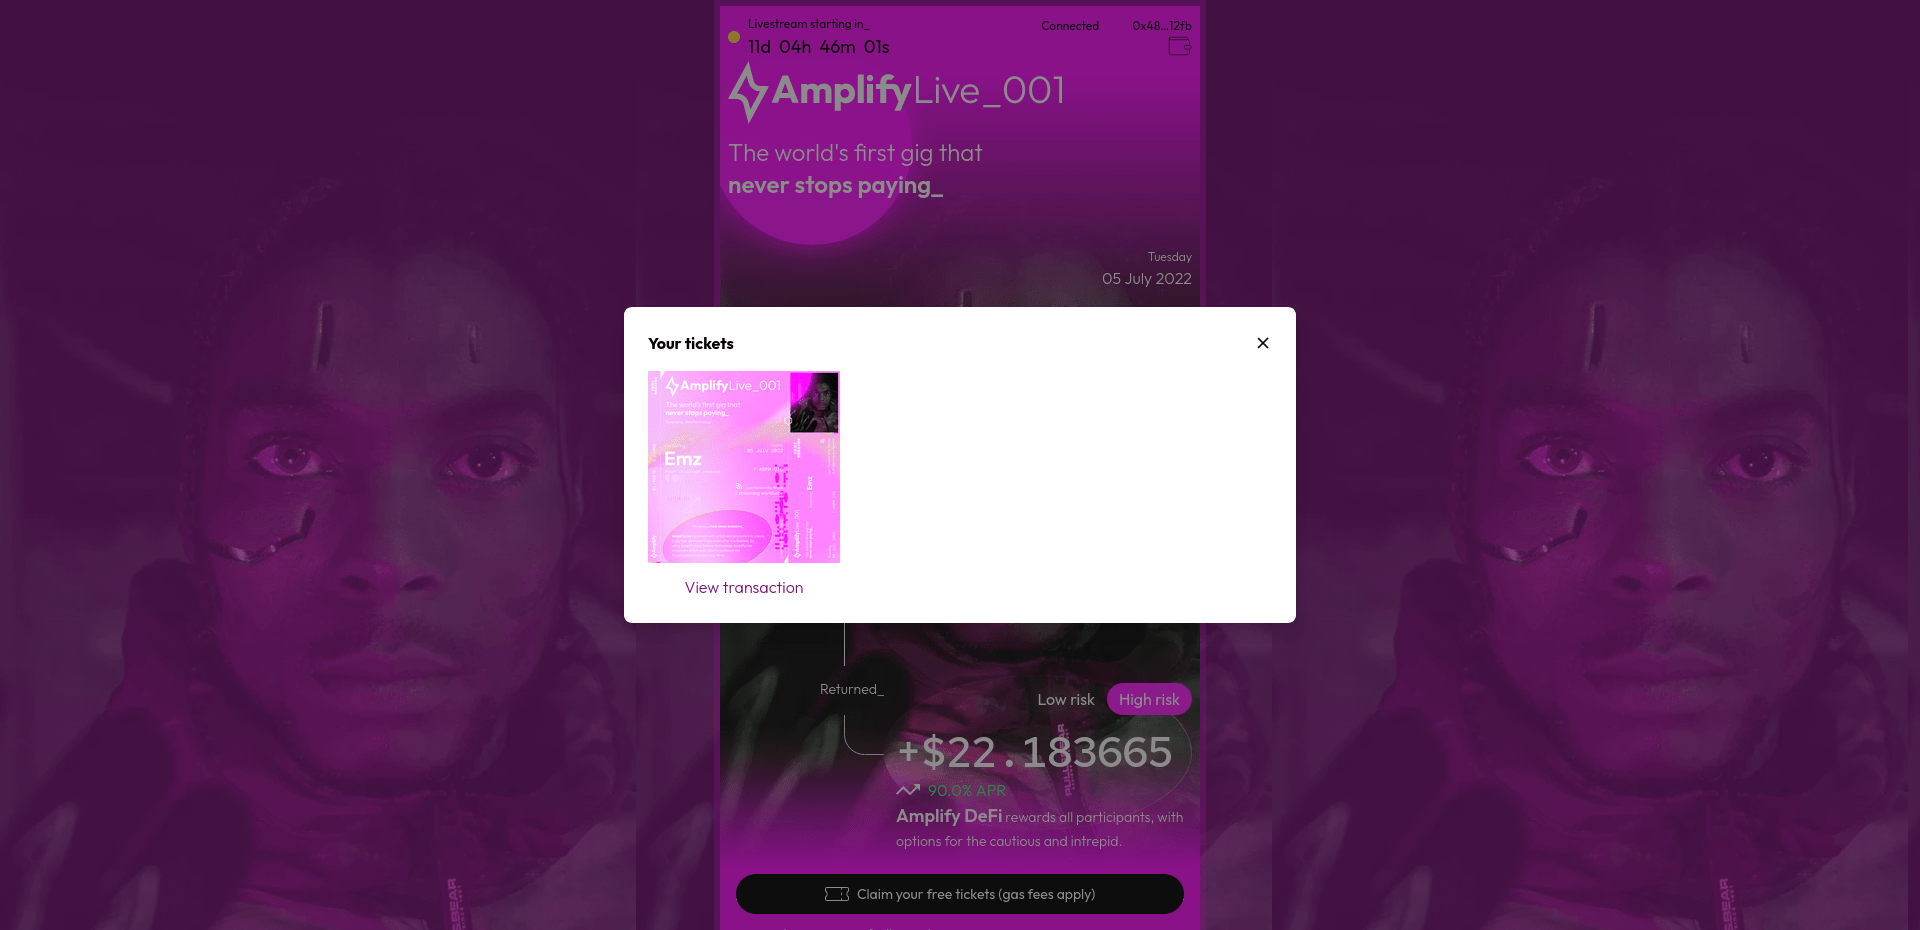
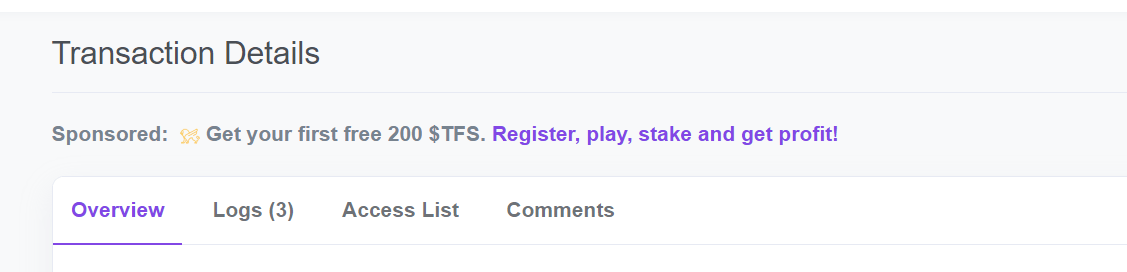
After the transaction is complete, click on “View Transaction.”
Switch to “Custom Token.” Then, visit the transaction tab.
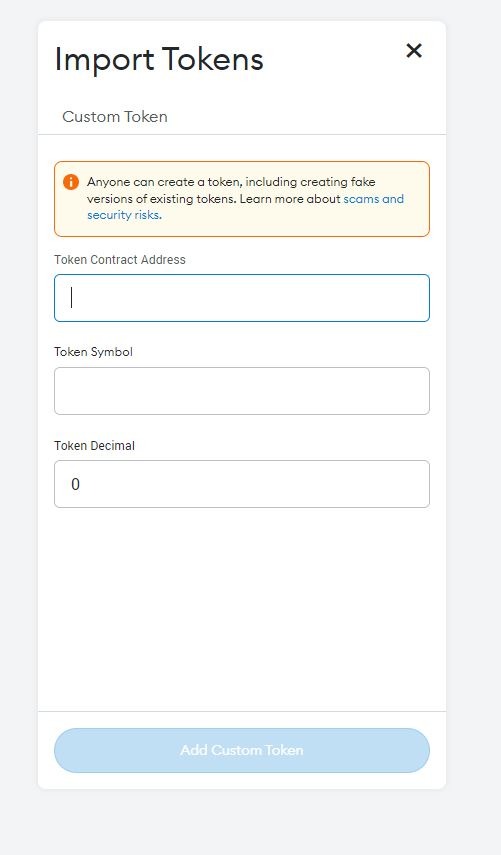
Copy and paste the following details:
Copy Interacted With (To): for Token Contract Address
Copy the number next to Token ID for Token Decimal
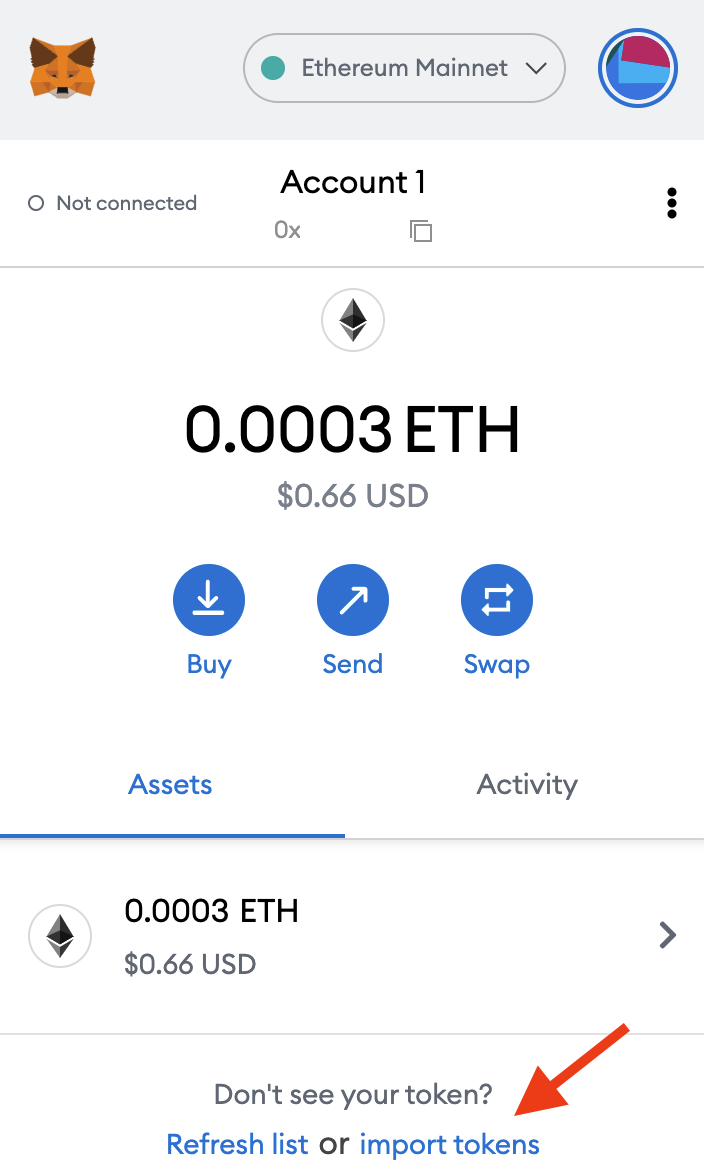
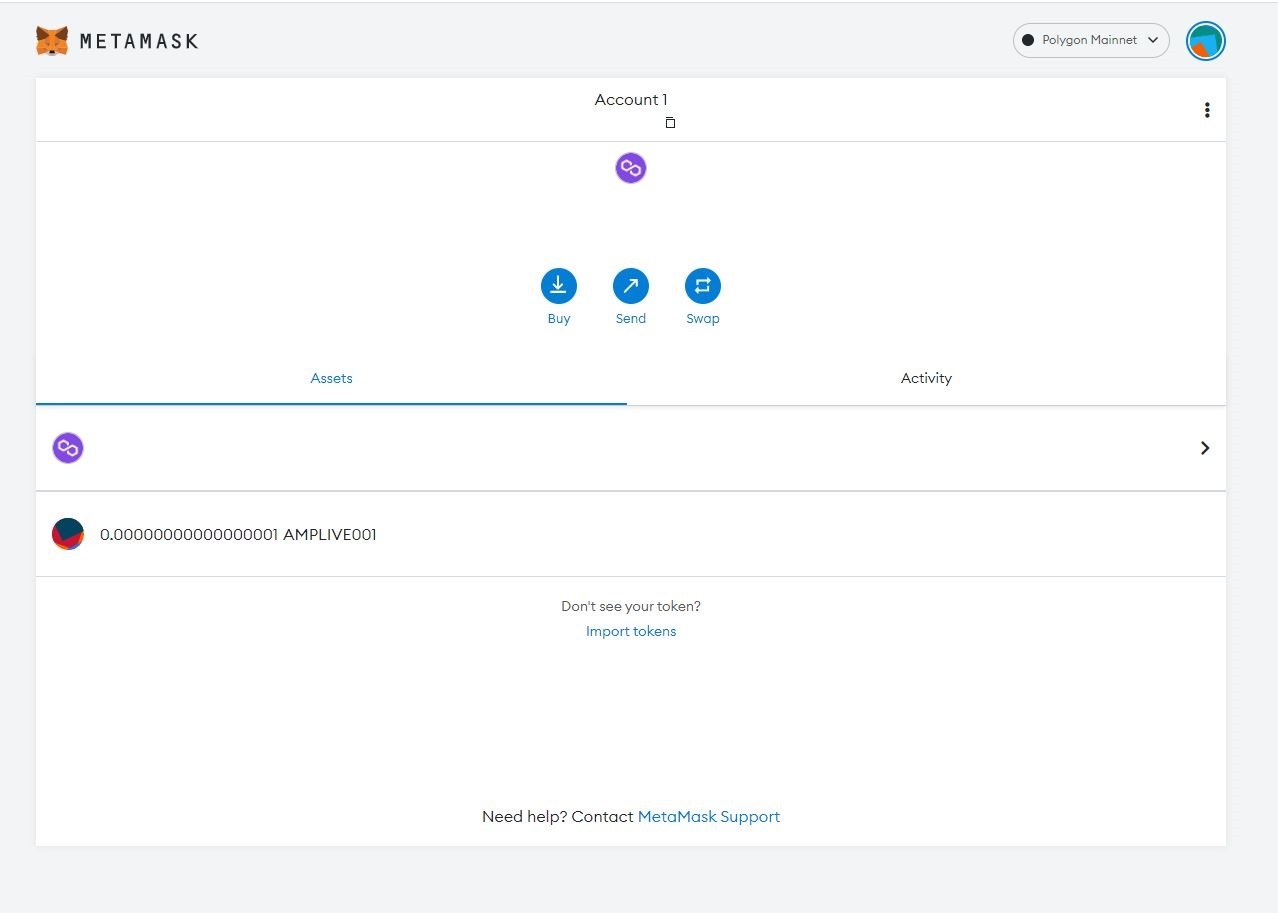
Then click on “Add Custom Token.” Your token should show up once you get redirected to your MetaMask wallet. If it doesn’t, refresh your browser.
Janelle Borg
Janelle knows a thing or two about the music industry. Having been involved in the industry since the age of 13, she's now involved in a variety of music-related projects and is always keen to share industry tips 'n' tricks with fellow musicians.

DAO Tokens: The Ultimate Guide to Token Benefits, Types & More
Explore how blockchain-driven DAOs and DAO tokens are reshaping communities and governance for a mor

DailyPlaylists: Easy Spotify Playlist Pitching For All Artists
Amplify's partner, DailyPlaylists, has helped over 260,000 artists submit their music to playlist cu

A Guide to NFTs in the music industry
If you're not familiar with NFT's and the world of crypto, we break down what they are and how you c